
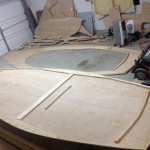
 Here I laid out all the hull bottom pieces. Notice the short stringers in the center, placed to hold the larger sheets of plywood together temporarily.
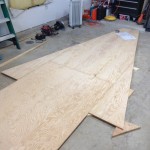
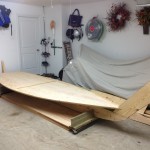
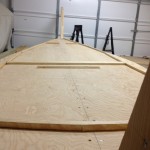
In this picture you will see a better view of the triangular wings on the sides. These are here because the boat is actually wider than the stock plywood.
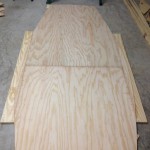
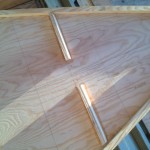
Here the wings are cut shorter and if you look close you may be able to see the curvature outline.
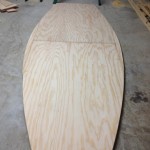
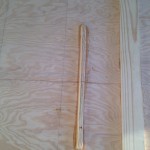
All trimmed up with the finished lines.
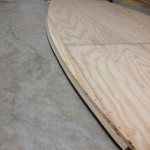
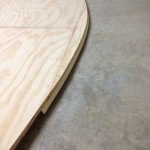
A closer look at the curve lines. This is a lot easier than you would think, just take your time.
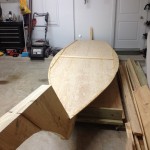
Next the bottom assembly is set on top of the keel assembly.

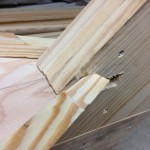
Here you can see the notch that is needed for the bottom assembly to fit into the keel assembly. Then you attach, glue and screw, the two assemblies together.
Stringers, Stringer, Stringer!
This is a great view of most of the stringers on the bottom and deck assemblies.
Forward bulk head stringer.
Cabin/Companion Way stringer and central joiner.

Transom and Lazarrette stringers.